Showing posts with label baking. Show all posts

Sunday, August 11, 2013

Blender Banana Bread


   My girls always want me to buy bananas, but it just seems in these summer months they go brown pretty quick.  So when my bananas go brown, what do I do?  That's right make banana bread.  I love banana bread...warm and toasted, with butter! I had pinned a recipe for Banana Bread a couple years back and I have referred to it often.  But one of the problems with Pinterest that I have found is sometimes you get the message "the page you are looking for no longer exists.  That's what happened to me today. When I went to find my recipe on Pinterest, it was gone!!!
    Luckily I was able to figure it out from some other recipes I had.  I am blogging about it, so I can share it with you because it's super easy and so good!
    Heat the oven to 350 degrees.
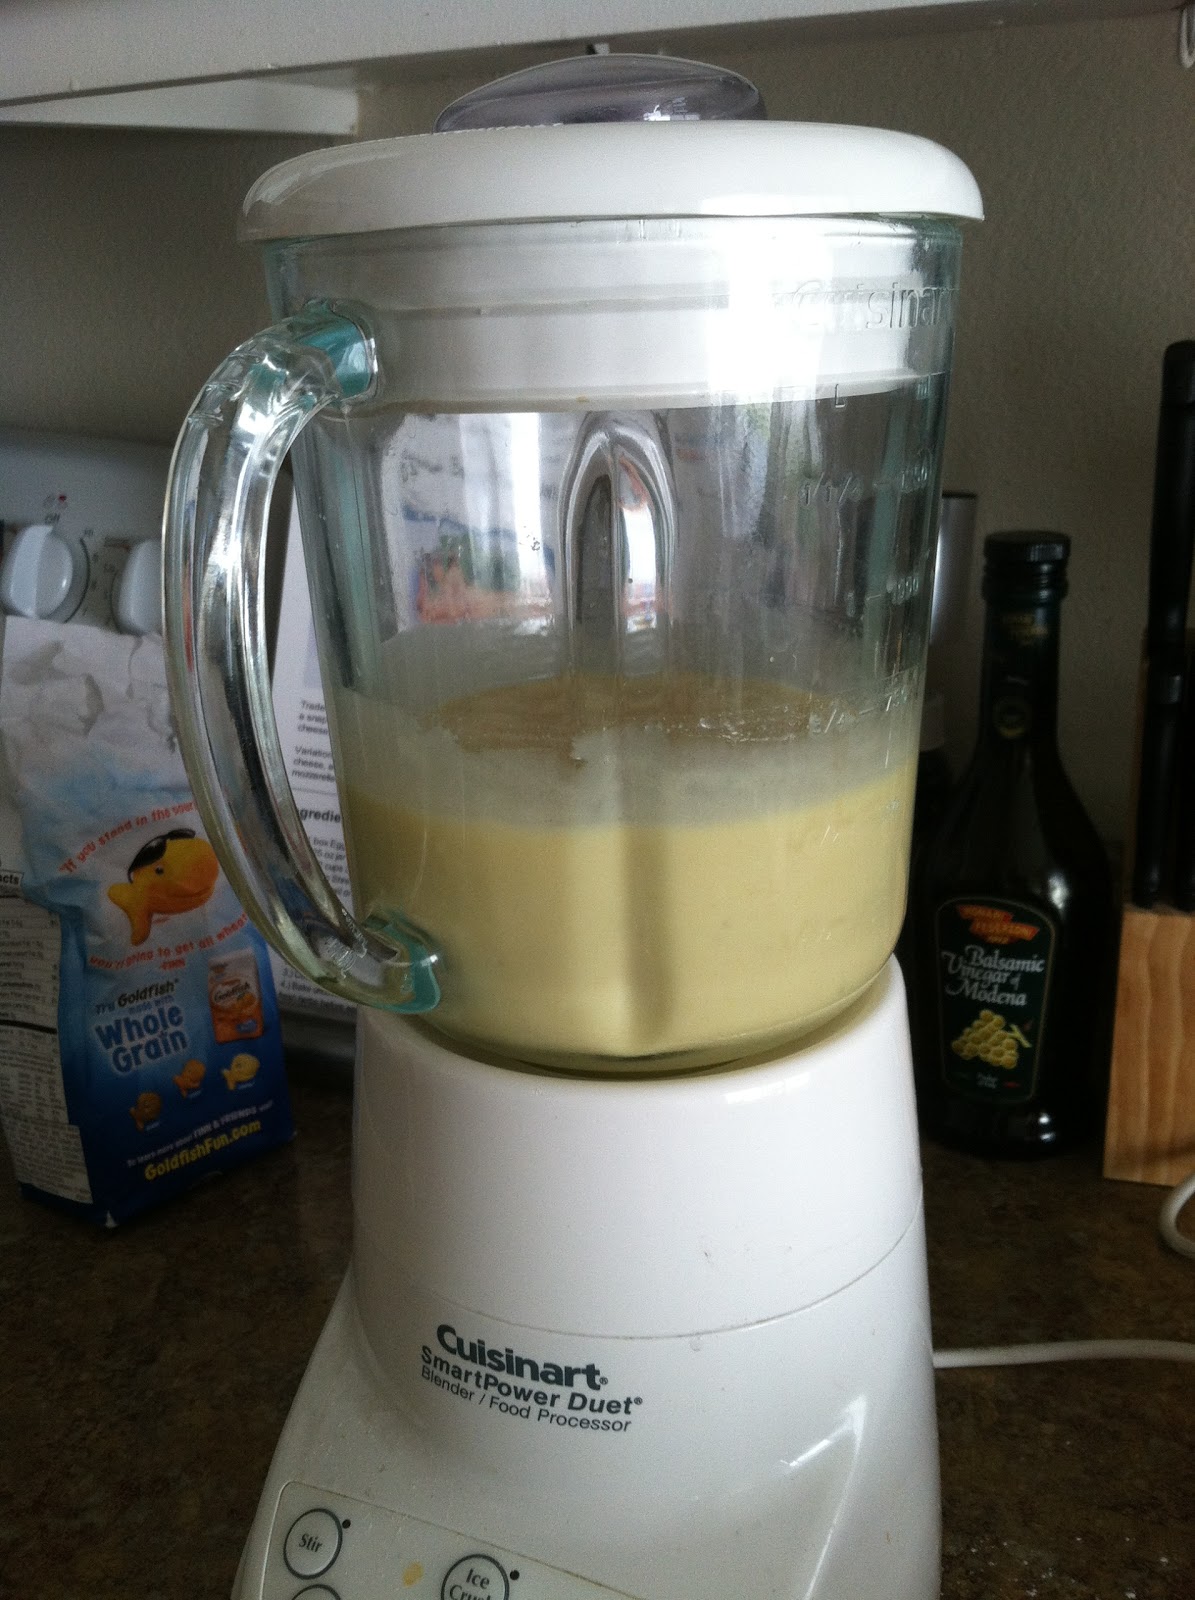
In A Blender:
    Place: 1 stick of butter
             2 eggs
             1 cup sugar
             3 cut bananas
             and 1 tsp. vanilla.
    Blend together.  You will likely have to stop it and push down the ingredients several times so that it blends well.


In a Separate Bowl:
Mix together: 2 cups of flour
                     1/4 tsp. salt
                     1/2 tsp. baking soda


Pour into the blender and blend well.


If you want chopped pecans in the bread, then this is the time to add them. Add about 1/2 cup of chopped pecans and stir with a spatula throughout...don;t blend or you won't have nut chunks.  Pour your mixture into two greased small loaf pans or one larger bread pan.  Place in a 350 degree oven and bake for 50 minutes to an hour.  Just check it and it is done when you can stick a toothpick in it and it comes out clean...or when the top starts to slightly darken.


Wednesday, June 5, 2013

Mini Princess Cakes


 Ella's 2nd Birthday Party is coming up, so I decided to throw her a Ladybug Birthday Party. Instead of going out and buying a cake, I've decided to make my own.  I ordered the cake molds for the body and the head.  I decided I needed to do a trial run with what will be the head of the ladybug molds.  I wasn't ready to make the ladybug cake just yet , so I decided to use one of the pins I have been "hoarding" on Pinterest and make Ella a special surprise for her actual birthday.
    Originally, I was going to take Ella and her big sister to go and buy cupcakes at the local cupcake shop, Casey's Cupcakes. I was curious to check out the cupcakes from the winner of the Cupcake Wars, but I knew that $20 for a 6 pack was just way too much,even if you get a free lemonade. When Lily, Ella's older sister turned two, I bought her a Cinderella princess cake from Pavilions. It looked like the Mini Princess Cake but with a bigger doll in the middle. I then remembered a pin for Mini Princess Cakes and decided I was going to try it out with my new cake molds. So, while Ella took a nap and Lily was at school, I went to work.


    This is the pan I used.  It's the Wilton Mini Mold Pan aka the Boob Pan.

First I baked the cakes. I used the Pillsbury Funfetti Cake Mix .  And let me tell you, I already know what hoarded pin I will be checking off my to do list next...Funfetti Cookies!  What I really didn't think about when I baked the cakes in this mold was how they were going to puff up and that I would need to trim them so the cakes would sit level.


I think "cake bottoms" could very well be the next "muffin tops." They were a delicious treat.

Second, I iced the cakes.
I had bought Buttercream frosting because I couldn't find yellow gel food coloring, and I figured I would just frost one of the cakes straight with the buttercream frosting to act as Belle's dress. The thing is obviously when you mix gel food coloring with "light yellow colored " frosting you don't get the exact color you want. So of course, I ended up using regular food coloring as well, which I should have just stuck to in the first place. I piled the frosting on and used a leveling spatula to spread it around the cake. Next, I decorated the cake with sprinkles.
Lastly, I stuck the mini princess dolls into the cake.

Cinderella was my first attempt.


Snow White

Belle
I ended up adding more yellow food coloring to the frosting for a deeper yellow.
Rapunzel


Aurora

Tiana

I had help from Lily's friend, Becca, to put on the sprinkles.

I was really worried that the food coloring from the frosting might not come off of the dolls, but it washed off easily.
And finally a reaction from the birthday girl....
Priceless!
She clapped she loved it so much.
This was a lot easier to make than I thought , but probably not a lot cheaper than going out and buying cupcakes because of the cost of the gel food coloring I bought. But hey, I knocked down one of my many pins, now I have 3,167 more to go! Yes, a little embarassing, but at least I'm admitting it. Step one in the 12 step hoarding program.